Step-by-Step Guide to Adding Custom Analytics to Notion with NotionStats
Updated: April 6, 2026
This comprehensive guide shows you how to create custom charts and calendars, link them to your Notion database, and track your data visually to gain better insights and boost productivity. With NotionStats, managing your notion analytics becomes efficient and intuitive.
Step 1: Sign Up for NotionStats #
Get started by creating an account. Once you've successfully signed up, you'll be redirected to your dashboard page, where you can begin setting up your analytics tools.
Step 2: Create a Workspace #
After signing in, click Add new → Workspace and give your workspace a name. Pick what you use it for (Finance, Habits, Fitness, Subscriptions, Trading, or Other) — the name fills in automatically, and you can change it. A workspace is like a folder that holds the charts, milestones and calendars for one Notion database.
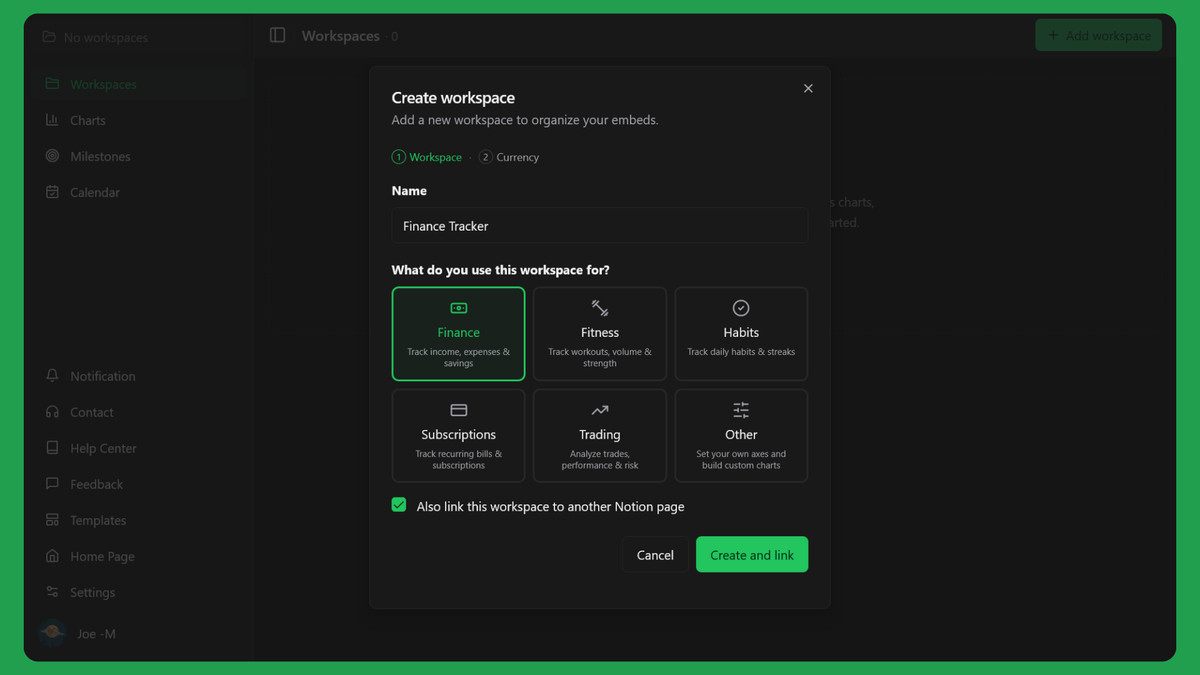
If you have not connected Notion yet, the button reads Create and link and takes you straight to Notion. If Notion is already connected, Create workspace takes you to the new workspace page, and you can tick Also link this workspace to another Notion page if you want to share more pages first.
Step 3: Link Your Workspace to Notion #
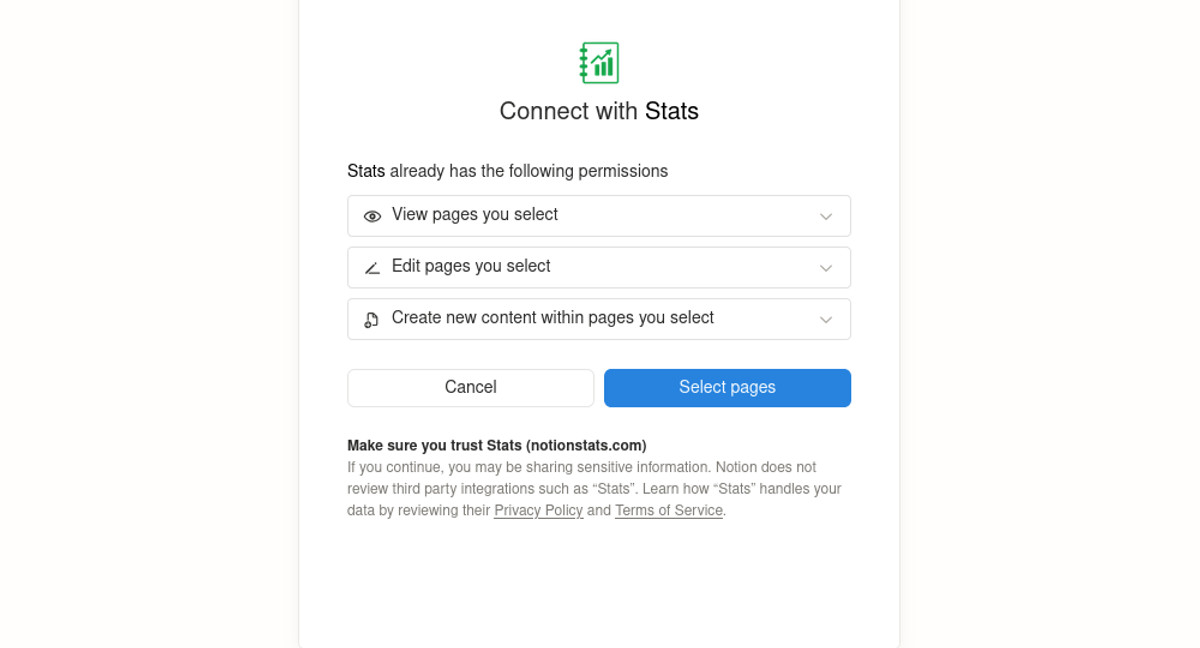
Next, connect your workspace with your Notion database. Follow the prompts to authorize NotionStats to read your Notion pages.
- Click "Select pages" button to share your notion workspace.
- Next, check the box for the page you want to add analytics to.
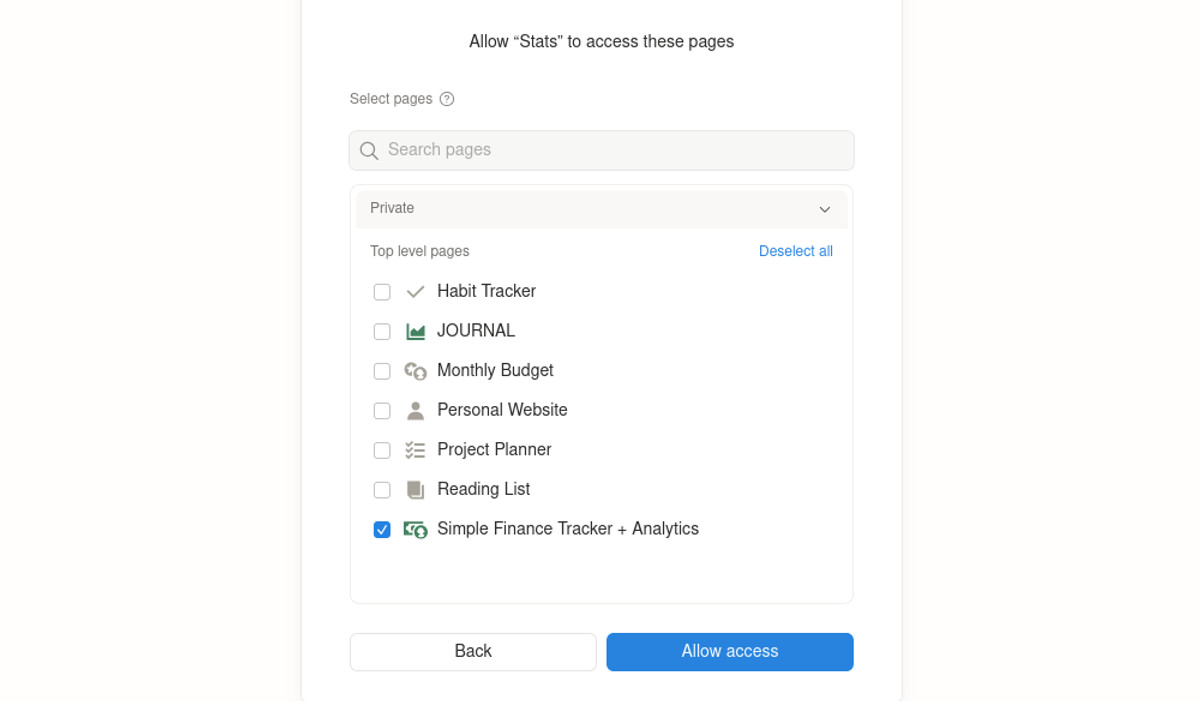
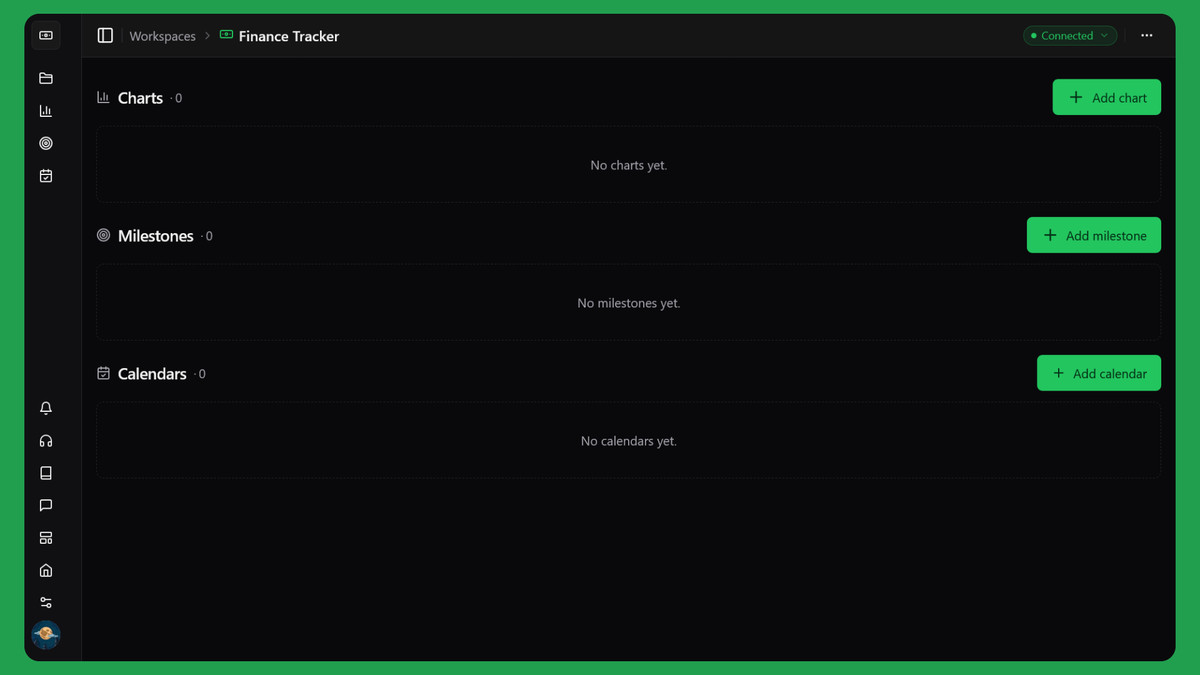
When you click Allow access, you land back on your workspace page. NotionStats waits a few seconds for Notion to share your databases, then sets the workspace's primary database for you when the choice is obvious (only one database was shared, or one is named exactly like the template database, such as trades db). If it can't tell, a Choose a primary database window opens so you can pick one. See What is a primary database? for details.

Step 4: Add Custom Charts #
To create custom charts for visualizing your data, open your workspace page and click Add chart in the Charts section.
Follow the detailed Chart Creation Guide to create your first chart.
Step 5: Add Milestones #
To track your progress with visual milestones, click Add milestone in the Milestones section of your workspace page.
Use the Milestone Creation Guide to set up your first milestone.
By completing these steps, you'll have powerful analytics tools integrated into your Notion, allowing you to track your performance with ease. Start optimizing your workflow today with NotionStats!