How to Create and Track Milestones in Your Notion Workspace: A Step-by-Step Guide
Updated: April 6, 2026
What Are Milestones? #
Milestones are visual progress trackers that help you celebrate achievements in any workflow. They’re especially useful when you have a metric that moves toward a target—like “workouts completed”, “habits done”, “subscriptions reduced”, “monthly spend”, or “net worth goal”. Milestones provide a simple, gamified way to stay motivated and focused.
Step 1: Find the Milestones Section #
If you don't have an account, read this guide to set up your account and link your Notion database.
Once you've linked a Notion database, open your workspace page from the Dashboard. Your milestones live in the Milestones section; View all opens the full milestone list.
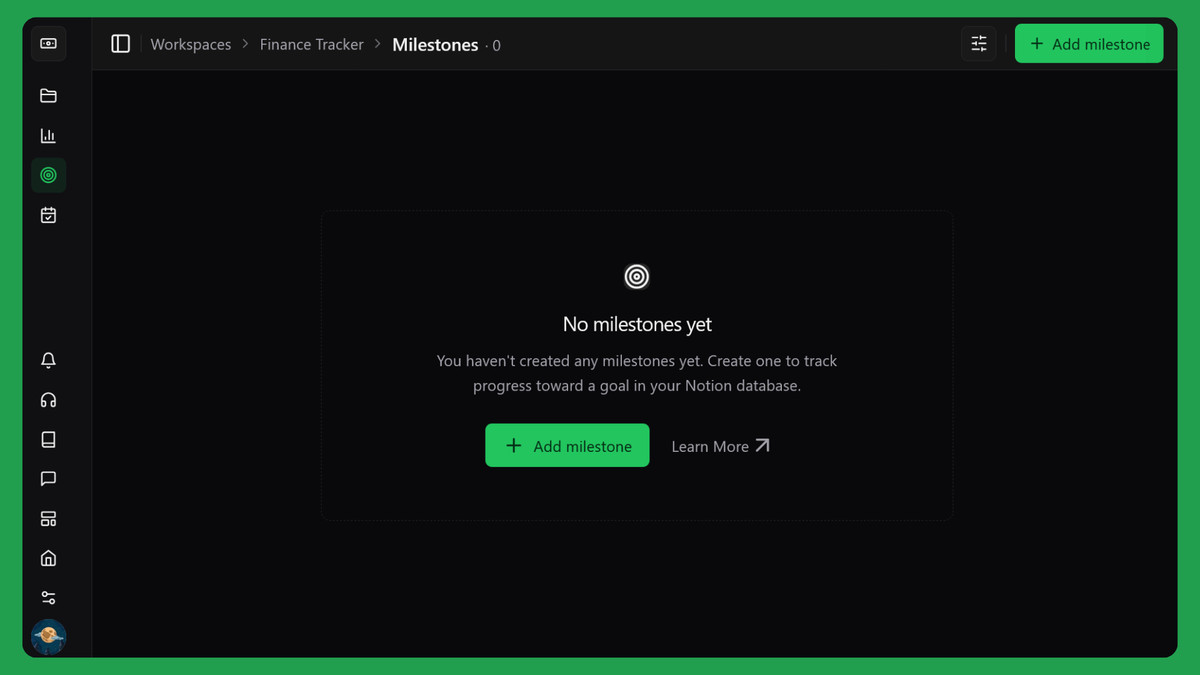
Step 2: Create Your First Milestone #
In the Milestones section, click Add milestone (or use Add new → Milestone from the dashboard) to open the creation window.
Step 2.1: Select Your Database #
In the window that appears:
- Workspace: Already selected (this is where your milestone will be stored). With a single workspace it's shown as plain text.
- Notion Database: Pre-selected with the workspace's primary database (marked Default). Choose another database if this milestone should track a different one.
Note: If your databases don't show up right away after connecting Notion, wait a few seconds. NotionStats shows a loading message and keeps checking, and you can click the refresh icon next to the list.
Click "Continue" to proceed to the milestone editor.

Step 3: Choose a Template #
You'll now be in the milestone editor, which has three main sections: Templates, Settings, and Live Preview.
Simply click on any template to auto-fill all settings.

Customize the template if needed #
If you prefer to create a custom milestone, expand the Settings section and configure the following:
Milestone Name: Enter a descriptive name for your milestone.
Description (Optional): Add context about what this milestone tracks.
Display Type: Select how you want your milestone to appear:
- Progress Bar - Linear progress display
- Circular Progress - Clean, focused circular indicator
Targets
- Name: Description of the achievement (e.g., "Target", "$1,000 Saved")
- Value: Numerical target to aim for
- Color: Visual color for the level (use the color picker)
Step 4: Save Your Milestone #
Once you're satisfied with your configuration, click Save milestone at the bottom of the settings panel. The first save creates the milestone and you stay in the editor. From then on, changes are saved automatically — the top bar shows Saving… and then All changes saved.
Click Back to milestones when you're done. Your new milestone appears as a card in the Milestones section.
Step 5: Copy the Embed URL #
Click Copy embed link (in the editor, or the copy icon on the milestone card) to copy the embed URL.

Step 6: Embed in Notion #
Click Copy embed link (in the editor, or the copy icon on the milestone's card) and paste the embed URL into your Notion page:
- In Notion, directly paste the link.
- Click Embed
- Resize the embed as needed
Shown with a chart. Milestones embed the same way.